Mini Split Installation in Cape Coral, FL
A mini split cools the room it serves, with no ducts to run through a hot attic and a temperature control in each room. In Cape Coral, FL, installation means sizing to the room, protecting the outdoor unit from salt air, anchoring it for hurricane wind, and pulling the permits before work starts.
Need help with mini split?
Call Now to reach a local mini split professional. Describe the room, the system, and what is happening.
Hours: Mon–Fri 7:00 AM–10:00 PM ET · Sat 8:00 AM–10:00 PM ET · Sun 7:00 AM–9:00 PM ET
What this service does
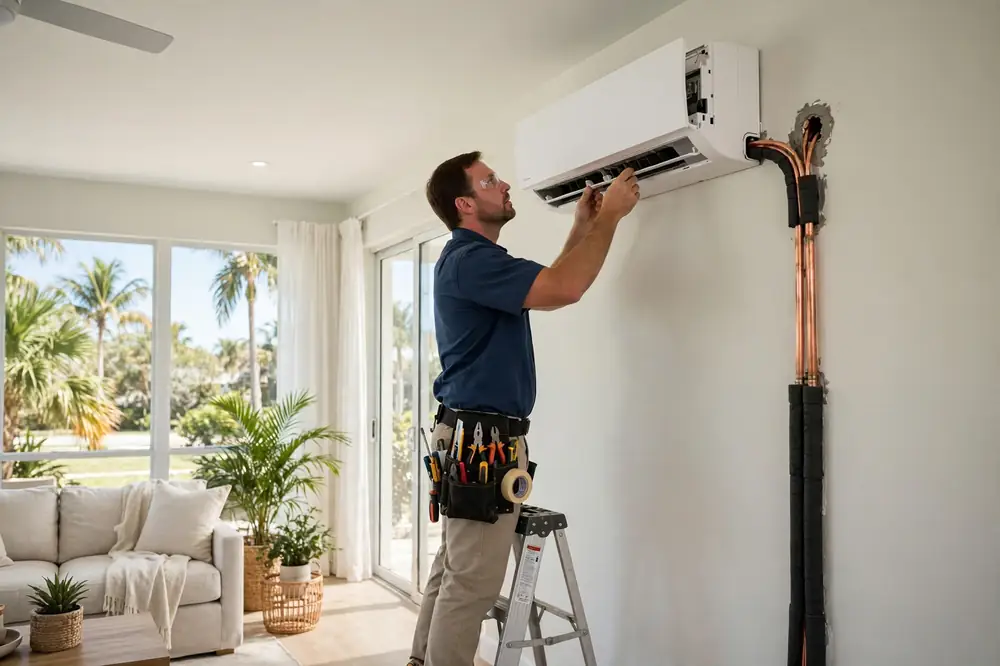
A ductless mini split has two main parts: an indoor unit mounted high on a wall inside the room, and an outdoor unit that sits outside the house. The two are joined by a line set — copper refrigerant lines, a drain line and a control cable — that runs through a small opening in the wall, usually about three inches across. There is no ductwork to install, no attic full of ducts to lose cooling through, and no need to tear open ceilings to reach a room that was never on the original duct plan.
Cape Coral, FL is a strong fit for ductless cooling for three reasons. First, the housing: most homes here are concrete-block houses built from the 1960s onward, and many have rooms that central air never reached — additions, converted garages, lanais, guest suites and back bedrooms. Second, the climate: humidity runs high for most of the year, and a ductless system dehumidifies as it cools, which is what makes a room feel comfortable in Florida. Third, the attics: Florida attics reach 130 degrees or higher in summer, and the U.S. Department of Energy estimates ductwork in unconditioned spaces can lose 20 to 30 percent of cooling energy through leaks and heat gain. A ductless system has no duct loss because there are no ducts.
Installation in Cape Coral, FL has three local conditions that change the job. Salt air is the first: homes within a few miles of the Gulf and along the saltwater canals need coastal corrosion protection on the outdoor unit — coated coils, coated cabinets and corrosion-resistant fasteners — or the coils fail years early. Hurricane exposure is the second: Ian made landfall on Cayo Costa on September 28, 2022, at about 150 mph, a direct hit on this area, so outdoor units are anchored to wind-rated mounts and elevated above expected flood levels. Permits are the third: in virtually every Florida jurisdiction a mini split install needs at least a mechanical permit, and in most cases a separate electrical permit as well for the new dedicated circuit and disconnect.
The work follows the same sequence on every install. It starts with an assessment of the room: size, ceiling height, windows and sun exposure, insulation, and how the room is used. That assessment decides the size of the unit — a step that matters more than any other, because an oversized unit cools fast and leaves the room clammy, while an undersized unit runs all day and never catches up. Then the permits are pulled, the indoor unit is mounted, the line set and drain are run, the outdoor unit is set and anchored, and the system is pressure-tested, vacuumed, charged and run through cooling, heating and Dry modes before the handover.
Before you call
- Note which room the unit serves and what it is doing — or not doing.
- Check the remote: mode, temperature setting, and whether the display responds.
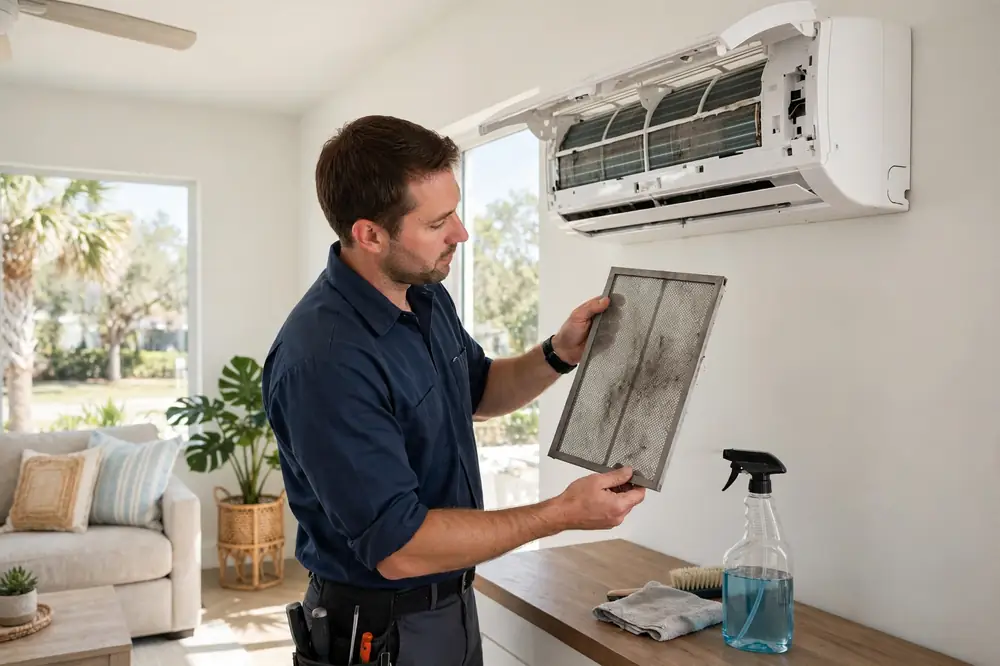
- Look at the indoor filter and the outdoor unit for leaves, dirt or standing water.
- Note when the problem started and whether it followed a storm or a power outage.
- Check whether your HOA or condo association needs to approve outdoor equipment.
How mini split installation works in a Cape Coral, FL home
The assessment comes first, and it is a load check, not a guess. The room is measured — length, width and ceiling height — and the windows are counted, including which direction they face and how much sun they take. Insulation, the roof above the room, and how the room is used all go into the calculation. A sun-facing lanai with glass on three sides needs a different size than a shaded interior bedroom of the same floor area. The result is a size in BTU that matches the room, and the unit is chosen to that size. A unit copied from a neighbour or chosen from a chart alone is a gamble, and the room pays for it in clammy air or constant running.
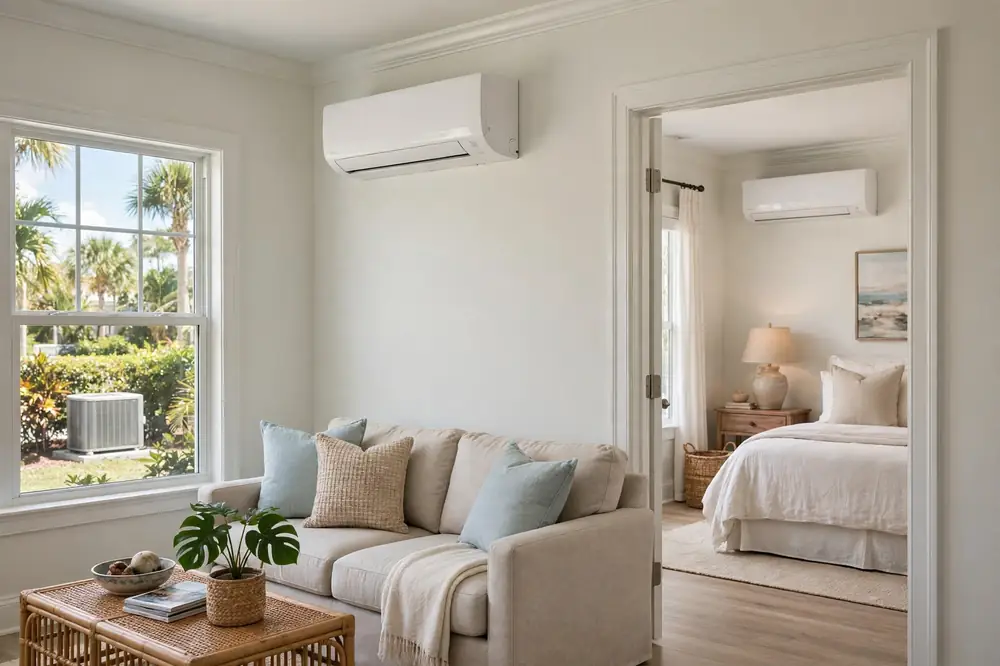
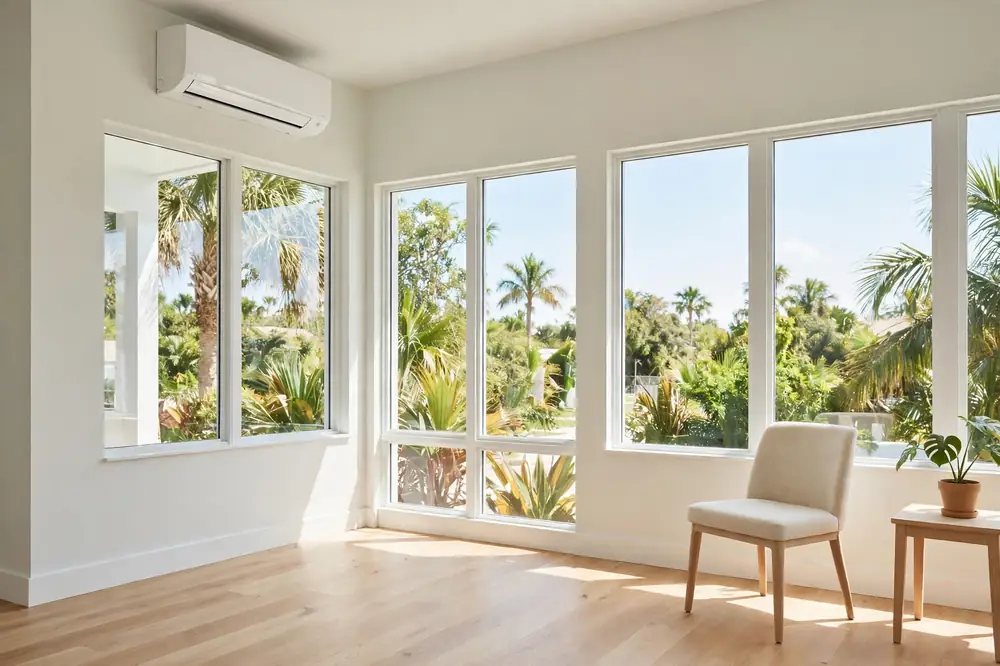
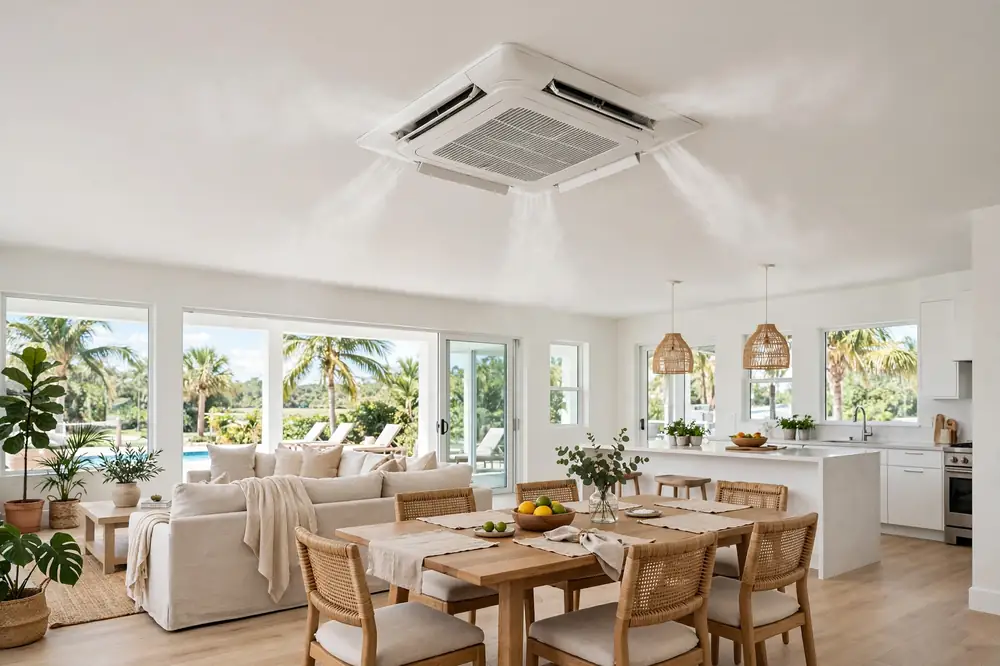
The indoor unit usually mounts high on an interior wall, where it can throw air across the room without blowing directly onto people sitting below it. The spot needs a clear wall, space above the unit for air intake, and a path for the line set and drain to the outside. Furniture, curtains and tall shelving are kept clear of the airflow. In some rooms a ceiling cassette or a floor-mounted unit fits the space better — a large open-plan room, a room with a low ceiling, or a room where the wall space is taken up by windows. The indoor unit type is decided by the room, not by habit.
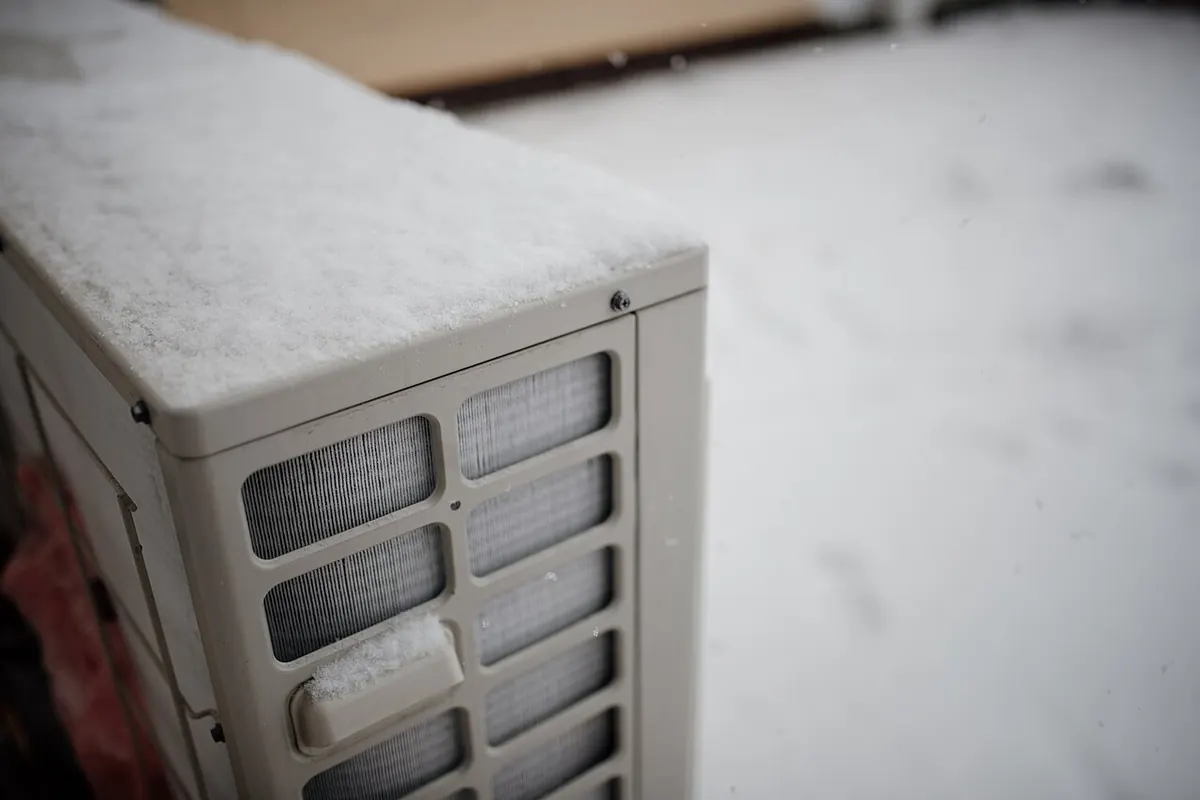
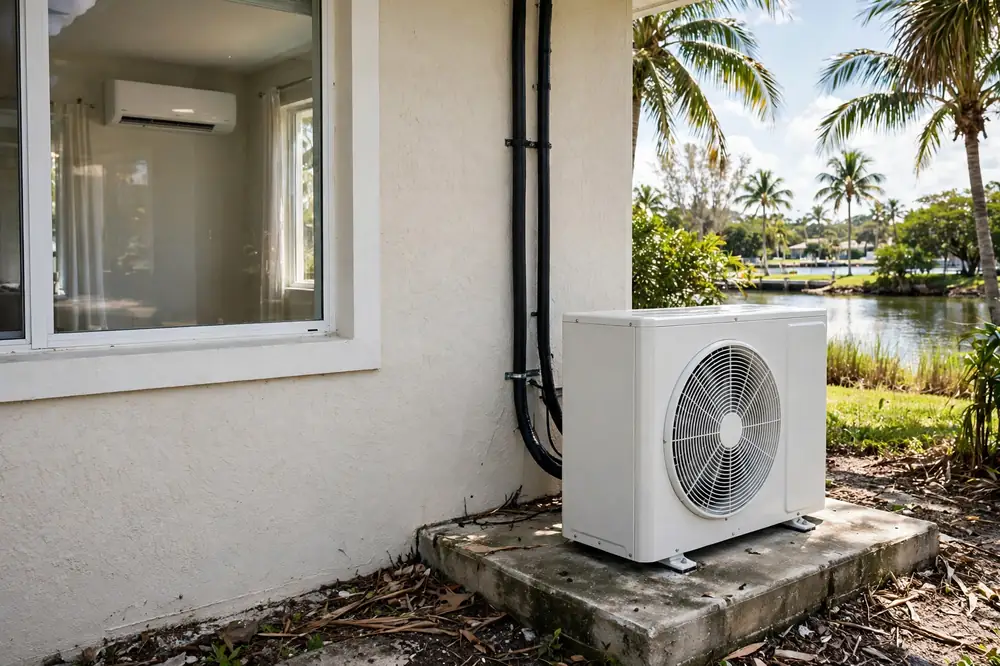
The line set runs from the indoor unit to the outdoor unit through a small opening in the wall. The copper lines are insulated, the drain line runs downhill so condensate flows away from the house, and the opening is sealed against rain, insects and humid air. The outdoor unit sits on a pad, a wall bracket or an elevated platform, with clearance on all sides for airflow and for service. In Cape Coral, FL the outdoor unit is placed out of direct salt spray where possible, and it is anchored to a wind-rated mount with corrosion-resistant hardware, because a unit that shifts in a storm is a unit that leaks refrigerant.
The electrical work is a dedicated circuit. A mini split outdoor unit runs on a 208/230V circuit, with a disconnect box near the unit, and the work is covered by a separate electrical permit under NEC Article 440. The panel is checked for a spare circuit and for capacity before the work starts, and the disconnect is placed where it can be reached without climbing over the unit. This is the part of the job that most often surprises a homeowner: the unit itself is quiet and compact, but it needs its own circuit, and that circuit needs its own permit and inspection.
Testing is the last step before handover, and it is not skipped. The line set is pressure-tested for leaks, vacuumed to remove air and moisture, and charged with refrigerant. Then the system is run through every mode — Cool, Heat and Dry — while the airflow, the temperature drop and the drain are checked. The remote is explained: which mode to use, when Dry mode helps, and how the filter comes out for cleaning. The inspection is arranged, and the permit is closed only after the inspector has seen the work.
What the service includes
Room assessment and load check
The room is measured and the load is checked — size, ceiling height, windows, sun, insulation and use — so the unit is sized to the room.
Indoor unit mounting
The indoor unit is mounted high on the wall, level, with clear airflow and a clear path for the line set and drain.
Line set and drain run
Copper refrigerant lines, drain line and control cable run through a small sealed wall opening to the outdoor unit.
Outdoor unit placement and anchoring
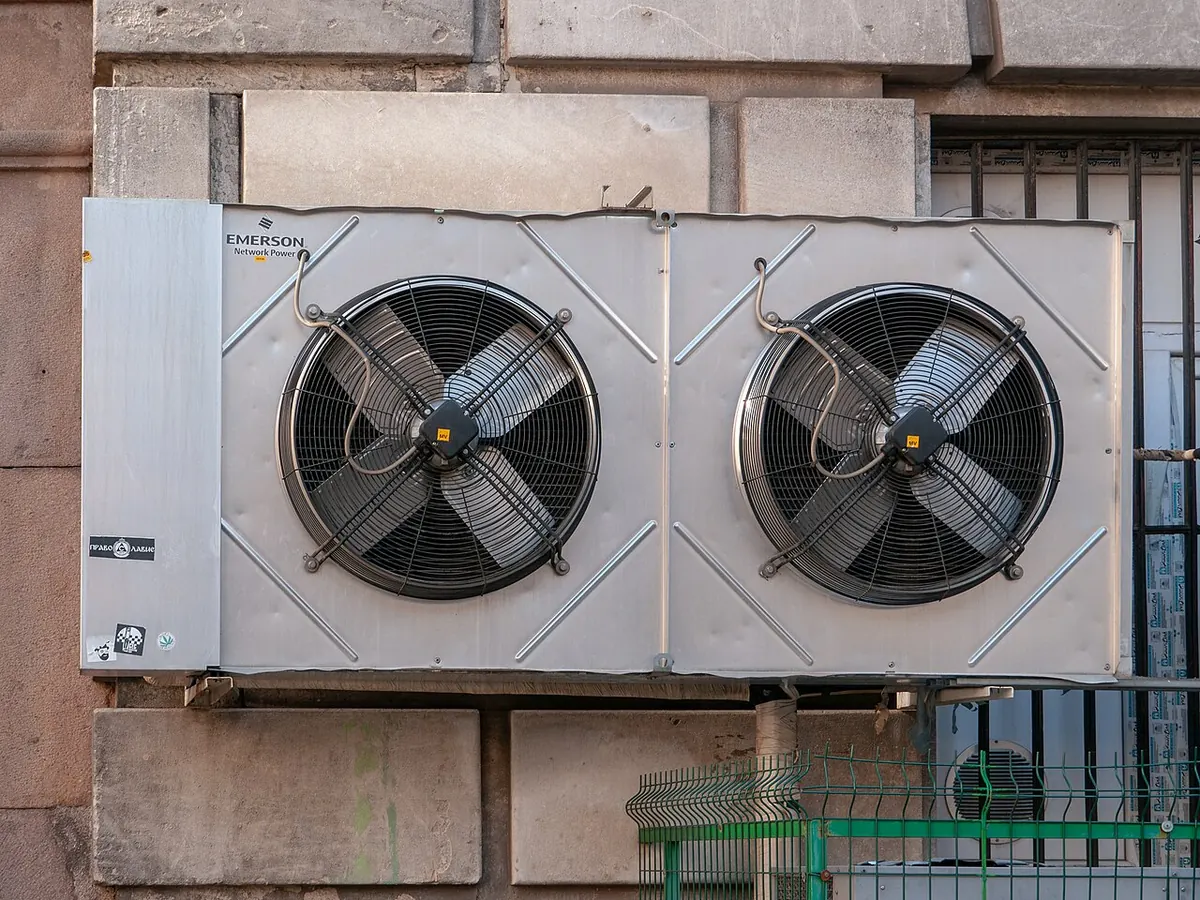
The outdoor unit is set on a pad, bracket or elevated platform, anchored to a wind-rated mount with corrosion-resistant hardware.
Electrical circuit and disconnect
A dedicated 208/230V circuit and a disconnect box near the unit, covered by a separate electrical permit.
Pressure test, vacuum and charge
The line set is pressure-tested for leaks, vacuumed, and charged with refrigerant before the system runs.
Salt-air protection
Coastal corrosion protection on the outdoor unit — coated coils and cabinets — for homes near the Gulf and the saltwater canals.
Testing in every mode
The system is run through Cool, Heat and Dry modes while airflow, temperature drop and the drain are checked.
Permit and inspection
Mechanical and electrical permits are pulled before work starts, and the inspection is arranged after the work is done.
How the work runs
Call and describe the room
Which room, how big it is, what it is used for, and whether it has ever had cooling. That decides the assessment.
Assessment and sizing
The room is measured and the load is checked, so the unit is sized to the room — not guessed.
Permits
Mechanical and electrical permits are pulled before work starts.
Installation
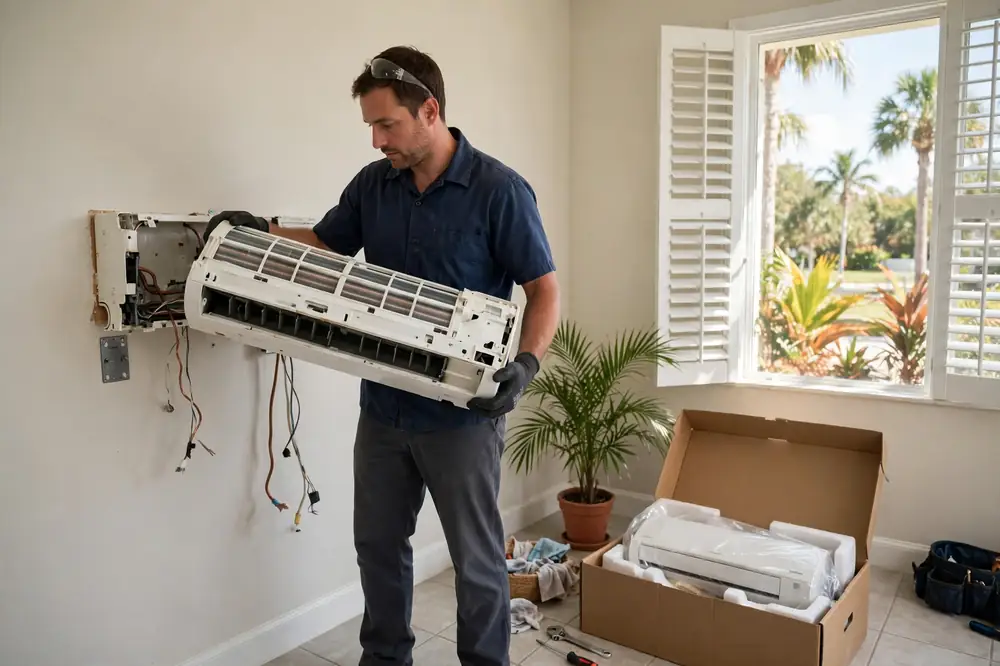
The indoor unit is mounted, the line set and drain are run through a small wall opening, and the outdoor unit is set, anchored and connected.
Testing
The system is pressure-tested, vacuumed, charged, and run through cooling, heating and Dry modes.
Handover
The remote, the modes and the filter are explained, and the inspection is arranged.
Tools and methods used
Load calculation
A room-by-room load check that turns room size, windows, sun and insulation into the right unit size.
Torque wrenches and flaring tools
Flaring tools shape the copper line ends, and torque wrenches tighten the flare nuts to the right tension — too loose leaks, too tight cracks.
Nitrogen pressure test
The line set is filled with nitrogen and held at pressure, so a leak shows up before refrigerant goes in.
Vacuum pump and micron gauge
A vacuum pump pulls air and moisture out of the line set, and a micron gauge confirms the vacuum holds.
Refrigerant gauges
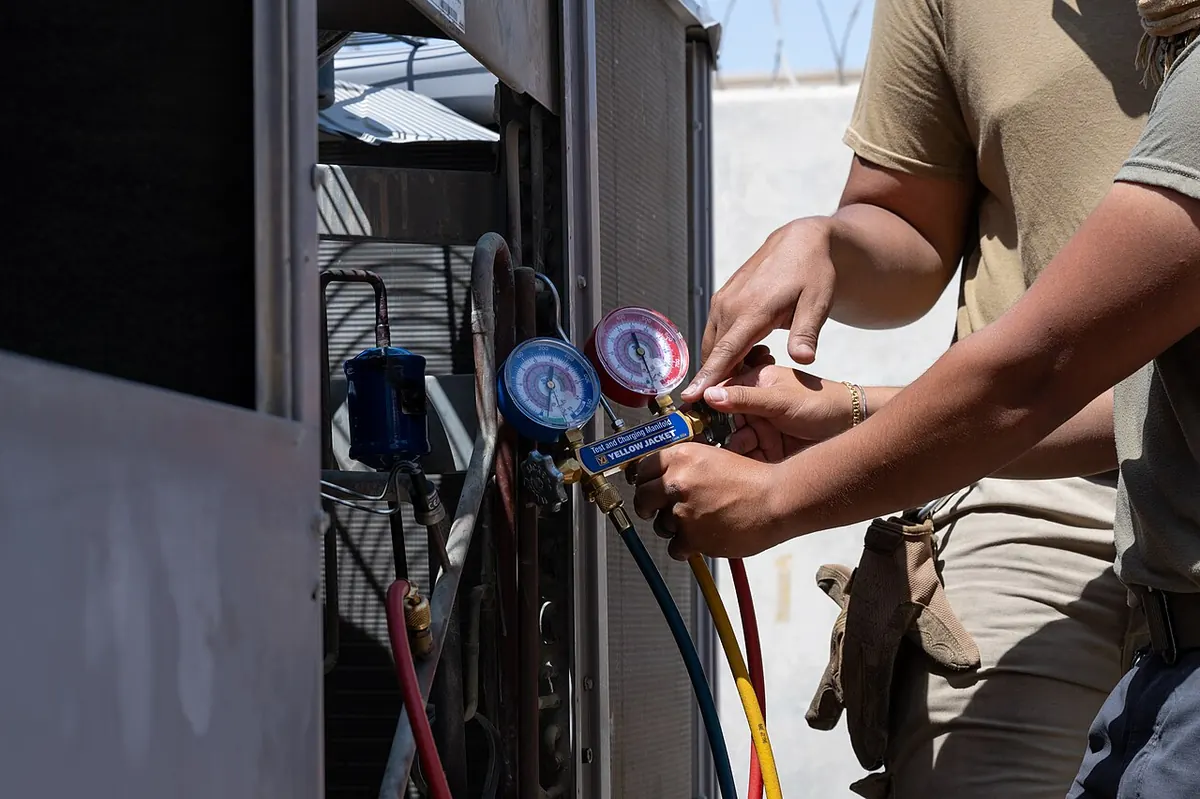
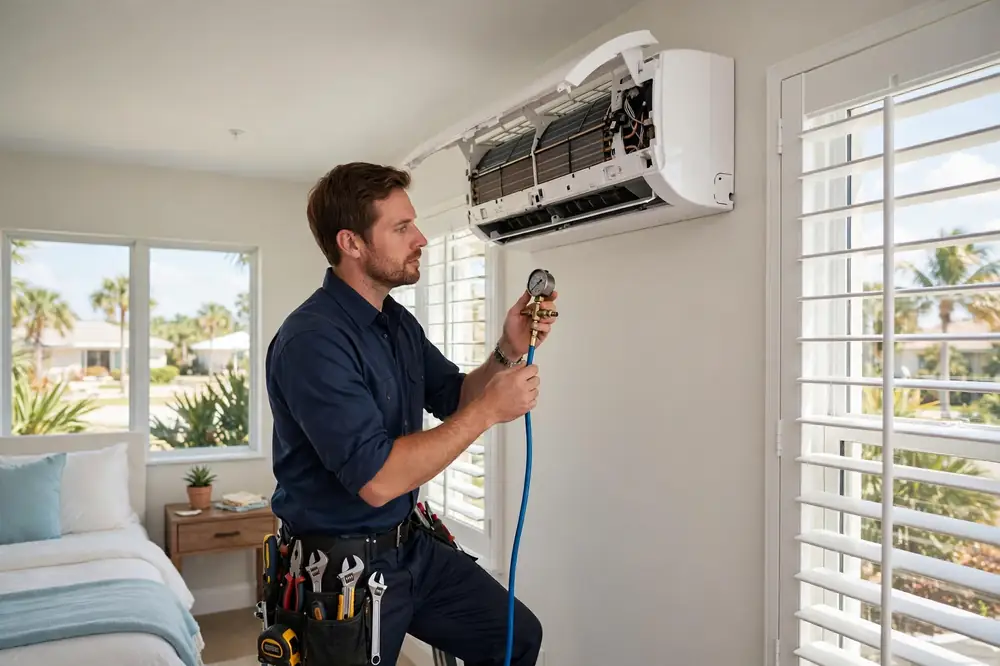
Gauges read the system pressures while the unit runs, confirming the charge is right.
Level and core drill
A level keeps the indoor unit straight so the drain flows, and a core drill makes the small, clean wall opening for the line set.
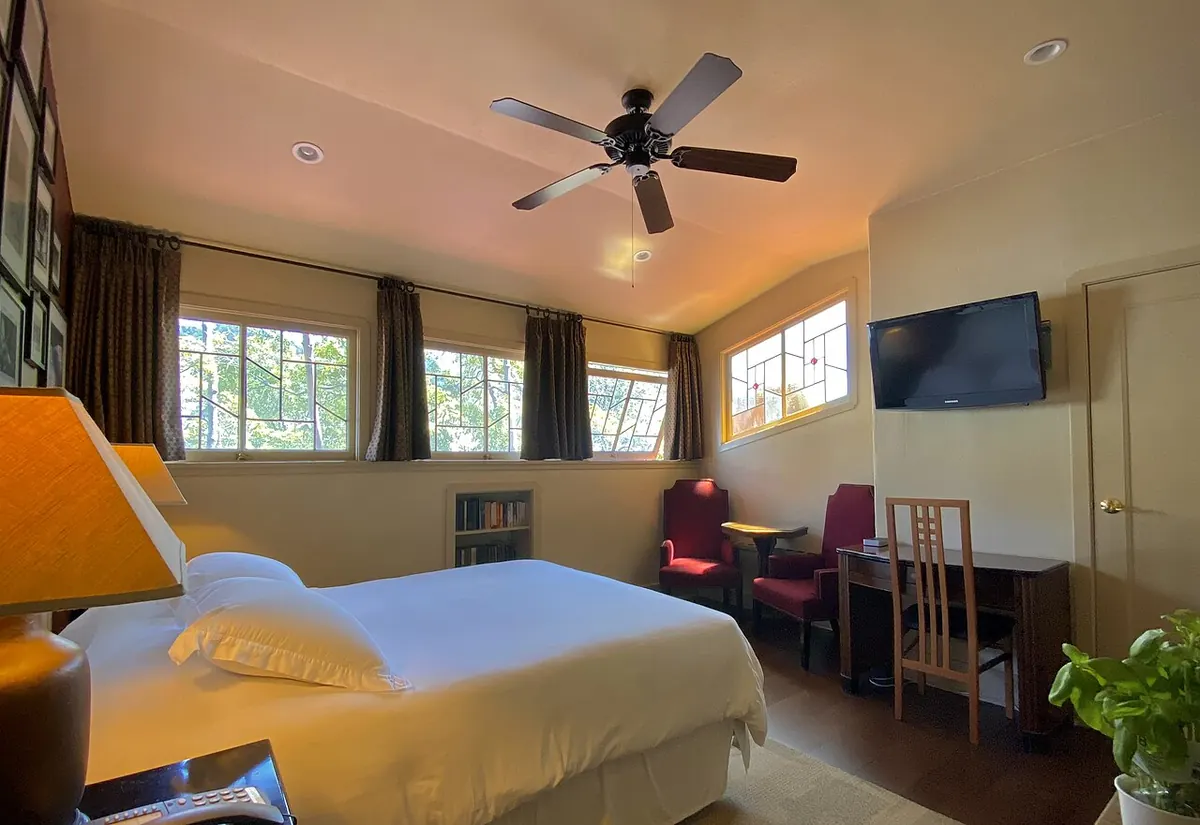
Sizing: the step that decides everything
The most common mini split mistake in Florida is sizing by guesswork. An oversized unit cools the room fast, shuts off, and never runs long enough to pull moisture out of the air — so the room feels cool and clammy at the same time. An undersized unit runs all day, never catches up on a hot afternoon, and wears itself out. Both mistakes come from the same cause: the size was copied from a neighbour, a chart, or the old unit, instead of being checked against the room.
A load check is the answer. It turns the room into numbers: floor area, ceiling height, window area and direction, insulation, roof exposure, and how the room is used. A sun-facing lanai with glass on three sides needs a different size than a shaded interior bedroom of the same floor area, and a garage with a metal door needs a different size than a bedroom with the same square footage. The sizing guide on this site explains the load check in full, including why oversizing hurts dehumidification more than undersizing hurts cooling.
Salt air, hurricanes and permits in Cape Coral, FL
Cape Coral, FL is a canal city on the Gulf, and that shapes every install. Salt air corrodes unprotected outdoor coils within a few years — Florida HVAC sources put unprotected coil life at 3 to 7 years within 10 to 15 miles of salt water — so homes near the Gulf and along the saltwater canals need coastal corrosion protection: coated coils, coated cabinets and corrosion-resistant fasteners. Placement matters too: out of direct spray where possible, with clearance for airflow, and rinsed as part of maintenance.
Hurricane exposure is the second local fact. Ian made landfall on Cayo Costa on September 28, 2022, at about 150 mph, a direct hit on this area, and Cape Coral has more properties at risk of flooding than any other city in Florida. Outdoor units are anchored to wind-rated mounts, elevated above expected flood levels, and checked after any major storm. The hurricane-prep guide on this site covers the full checklist.
Permits are the third local fact. A mechanical permit and usually a separate electrical permit, pulled before work starts, inspected after. Inside Cape Coral city limits the permits go through the City of Cape Coral; in unincorporated Lee County they go through Lee County Community Development and the eConnect system. A Notice of Commencement must be notarized and recorded with the Lee County Clerk of Courts for projects valued above the county threshold, and a permit expires if it does not pass at least one inspection within 180 days. The permit guide on this site explains all of it.
A back bedroom in Cape Coral that stays warm all summer, with a window unit rattling in the window and the door left open to borrow cool air from the hallway.
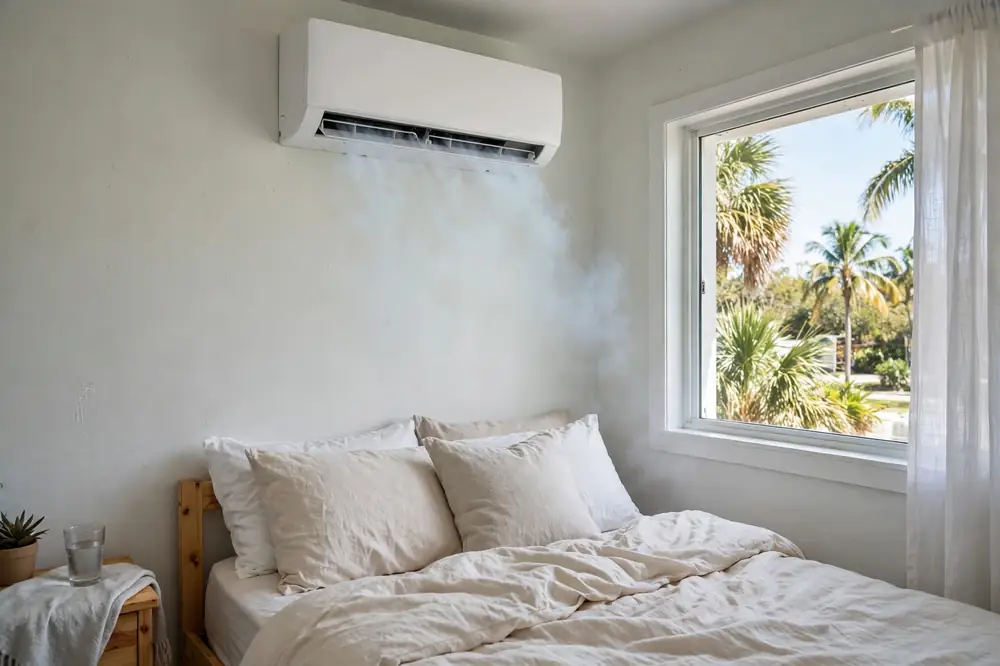
A room that stays warm, damp or noisy does not fix itself — and the cause is usually small: a dirty filter, a clogged drain, or a unit sized wrong for the room.
A wall-mounted indoor unit sized to the room, a small sealed wall opening, an anchored outdoor unit, and a room that holds its own temperature.
The work is checked in the room, at the thermostat and at the outdoor unit — not guessed from the driveway.
Guides and posts that go with mini split installation
Signs a room in your home needs a mini split
- A room that stays warm while the rest of the house cools — the back bedroom, the bonus room, the room over the garage.
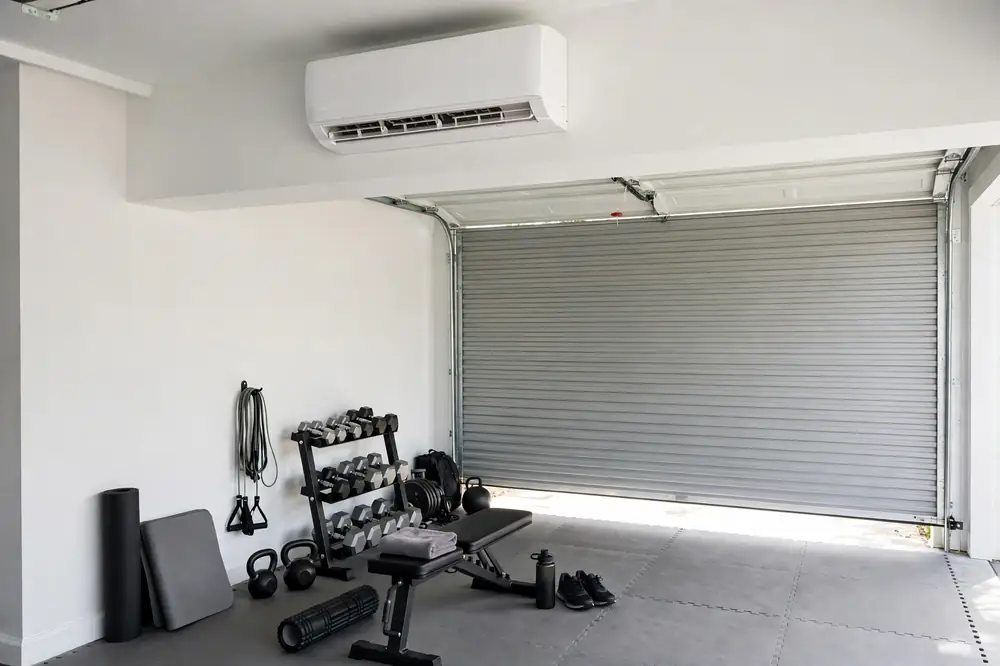
- A garage, workshop or home gym that central air never reached.
- A new addition or converted garage with no ductwork to extend.
- A lanai or sunroom that turns into a greenhouse by midday.
- A room where the temperature swings — cold in the morning, warm by afternoon.
- A home office that needs its own temperature during the day, without cooling the whole house.
- An older concrete-block home where running new ducts would mean opening ceilings.
- A guest suite or rental space that needs its own control, separate from the main house.
Related guides
How a mini split works · Mini split sizing guide · Mini split permit guide
Industries that use this service
Frequently asked questions
Questions people ask about mini split installation, answered plainly.
A single-zone install in one room is usually a one-day job, once the permits are in hand. A multi-zone system with several indoor units takes longer, and the permit and inspection add their own time. The assessment and the permits are arranged before the work day, so the install day itself is the mounting, the line set, the outdoor unit and the testing.
In virtually every Florida jurisdiction a mini split install needs at least a mechanical permit, and in most cases a separate electrical permit as well for the new dedicated circuit and disconnect. The Florida Building Code governs, and permits should be pulled by a state-certified or state-registered contractor under Florida Statutes Chapter 489. The permit guide on this site explains the full picture.
Usually high on an interior wall, where it can throw air across the room without blowing directly onto people sitting below it. The spot needs clear airflow above and below the unit, and a path for the line set and drain to the outside. Furniture, curtains and tall shelving are kept clear. In some rooms a ceiling cassette or a floor-mounted unit fits better.
On a pad, a wall bracket or an elevated platform, with clearance on all sides for airflow and for service, out of direct salt spray where possible, and anchored to a wind-rated mount with corrosion-resistant hardware. It is elevated above expected flood levels, and it is placed where the line set run is short and the drain can flow away from the house.
Yes — older concrete-block homes are the classic mini split retrofit. A ductless system needs no ductwork, so there is no need to open ceilings or run ducts through a hot attic. One room at a time is the usual pattern: the warmest room first, then the next. See the older-homes post on this site.
A multi-zone system can: one outdoor unit connected to several indoor units, each room with its own temperature. It suits homes where different rooms are used at different times. Whether it is the right answer for a whole house depends on the house — the number of rooms, the layout, and the existing ducted system, if there is one. The assessment decides.
The inspector checks the work against the permit: the mounting, the line set and drain, the electrical circuit and disconnect, and the anchoring of the outdoor unit. The permit is closed only after the inspection passes. If anything needs correcting, it is corrected and the inspection is repeated.
Mini split trouble in your Cape Coral home?
Call Now to reach a local mini split professional. Describe the room, the system, and what is happening.
Call now for mini split help
Tap Call Now to reach a local mini split professional. Tell them which room, what the unit is doing, and when it started.
Hours: Mon–Fri 7:00 AM–10:00 PM ET · Sat 8:00 AM–10:00 PM ET · Sun 7:00 AM–9:00 PM ET
Before you call
- Note which room the unit serves and what it is doing — or not doing.
- Check the remote: mode, temperature setting, and whether the display responds.
- Look at the indoor filter and the outdoor unit for leaves, dirt or standing water.
- Note when the problem started and whether it followed a storm or a power outage.
- Check whether your HOA or condo association needs to approve outdoor equipment.